vue3+ts使用sortablejs 实现拖拽排序效果
 0
0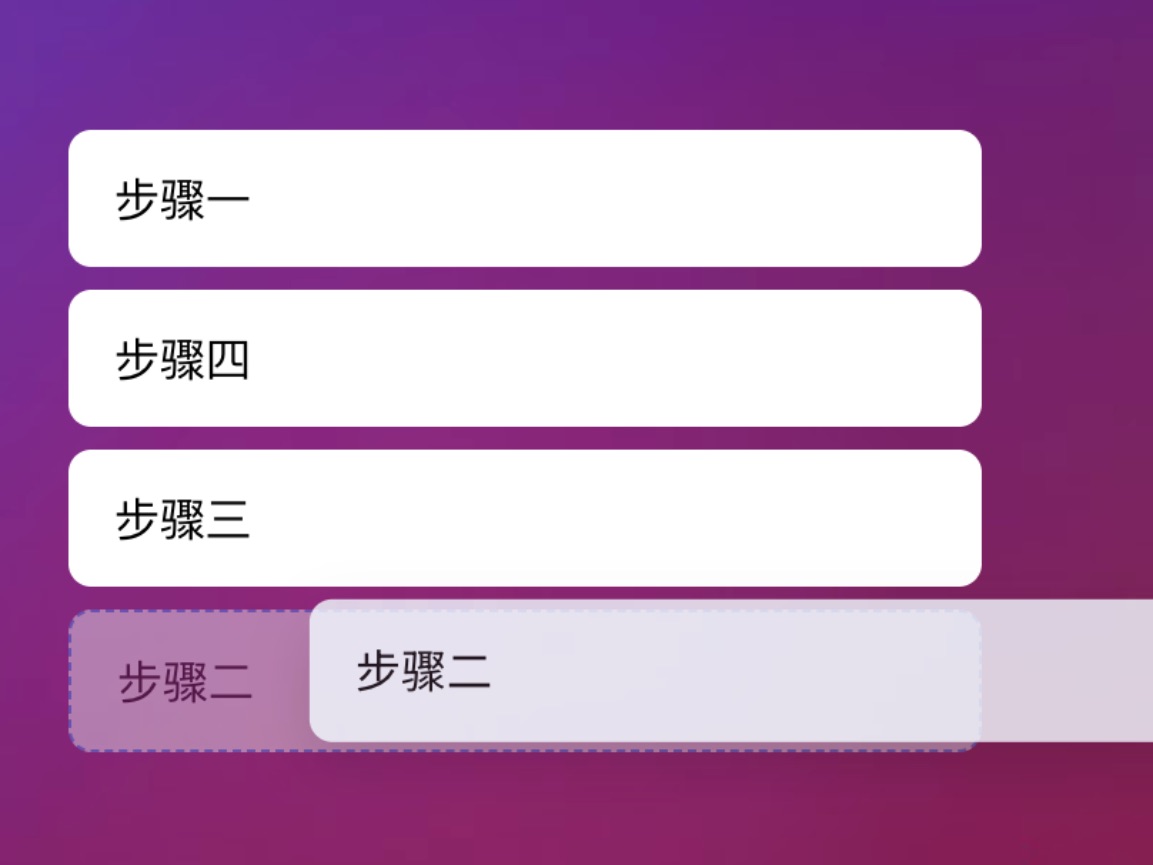
在后台管理系统、文章列表、表单配置器等场景中,拖拽排序是一个非常常见且实用的交互需求。相比自己处理鼠标事件,使用成熟的拖拽库可以大幅降低实现成本并提升体验。
本文基于 Vue 3 + TypeScript 技术栈,结合轻量且稳定的拖拽库 SortableJS,实现一个数据与视图同步的拖拽排序效果。
1
安装


12
输入命令 pnpm add sortablejs 安装 sortablejs 如图1所示
如果用的是ts 那就还得安装 pnpm i --save-dev @types/sortablejs 如图2所示
2
元素标签


12
页面的标签和样式如下 展示效果如图所示
<div class="container">
<ul ref="listRef" class="list">
<li
v-for="item in list"
:key="item.id"
class="list-item"
>
{{ item.name }}
</li>
</ul>
<pre class="debug">{{ list }}</pre>
</div>
<style scoped>
.container {
width: 320px;
margin: 40px auto;
font-family: -apple-system, BlinkMacSystemFont, 'Segoe UI', sans-serif;
}
/* 列表 */
.list {
padding: 0;
margin: 0;
}
/* 每一项 */
.list-item {
list-style: none;
padding: 12px 16px;
margin-bottom: 8px;
background: #ffffff;
border-radius: 8px;
cursor: move;
/* ⚠️ 不要加 transition / transform */
contain: layout paint;
}
/* 拖拽占位 */
.ghost {
opacity: 0.4;
background: #e6f7ff;
border: 1px dashed #1890ff;
}
/* 选中 */
.chosen {
background: #f0faff;
}
/* 正在拖动 */
.drag {
opacity: 0.85;
box-shadow: 0 8px 20px rgba(0, 0, 0, 0.15);
}
/* 防止文字被选中 */
.list-item,
.list-item * {
user-select: none;
}
.list-item:active {
cursor: grabbing;
}
.content {
margin-top: 20px;
font-size: 12px;
background: #f7f7f7;
padding: 8px;
border-radius: 6px;
}
</style>
3
拖拽效果

如图1所示是配置的一下介绍 连接如下
https://sortablejs.com/options
js代码如下
<script setup>
import { ref, onMounted, nextTick } from 'vue'
import Sortable from 'sortablejs'
const listRef = ref(null)
const list = ref([
{ id: 1, name: '步骤一' },
{ id: 2, name: '步骤二' },
{ id: 3, name: '步骤三' },
{ id: 4, name: '步骤四' }
])
onMounted(() => {
Sortable.create(listRef.value, {
// 定义排序动画的时间
animation: 150,
// drop placeholder的css类名
ghostClass: 'ghost',
// 被选中项的css 类名
chosenClass: 'chosen',
// 正在被拖拽中的css类名
dragClass: 'drag',
// 忽略 HTML5拖拽行为,强制回调进行
forceFallback: true,
// 将cloned DOM 元素挂到body元素上。
fallbackOnBody: true,
// 指定鼠标在被判定为拖拽前应移动的像素距离
fallbackTolerance: 5,
// 结束拖拽
onEnd(evt) {
const { oldIndex, newIndex } = evt
if (oldIndex === newIndex) return
const movedItem = list.value.splice(oldIndex, 1)[0]
list.value.splice(newIndex, 0, movedItem)
}
})
})
</script>
如果是异步显示的下拉框 应该 nextTick嵌套起来Sortable
4
效果


12
效果如图所示
 0
0 0
0 0
0 qq空间
qq空间  微博
微博  复制链接
复制链接 更多相关项目
猜你喜欢
评论/提问(已发布 0 条)