Spring Boot+Vue 前后端分离实战:微光聊天室项目(架构与登录功能实现)
 0
0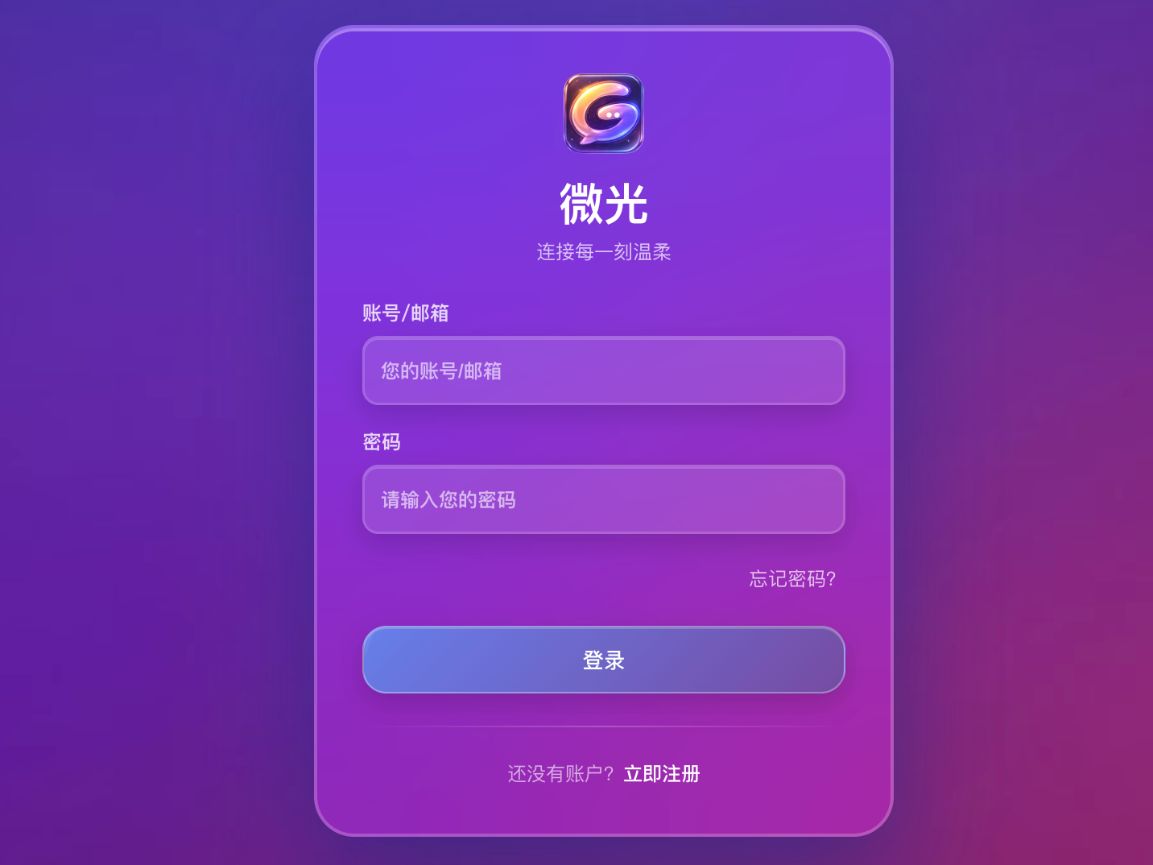
完整代码

大家如果只要代码的话可以直接下载 开头和结尾都有
获取邮箱授权码可以看第六步验证码模块
创建项目


- 如图1所示创建一个java的项目
- 把无用的项目删除只留下pom.xml 如图2所示
- 然后修改pom.xml 为如下内容 如果dependencyManagement报错那么就删除先下载好依赖再添加回去
公共模块

内容我放在附件里面了,我就给大家简单讲一下每个工具的作用 大家直接看媒体视频
创建web模块


- 如图所示新建一个模块,然后起名为glow-web,这个模块就是我们的入口模块也就是启动类和存放controller的模块 如图1,2所示
- 然后我们修改pom如下 如图3所示
- 然后修改启动类 如下如图4所示
- 默认端口号是8080 大家可以写个controller试试 如图5所示
yml 配置

如图所示 新建三个文件夹 application.yml application-dev.yml application-prod.yml
dev 是开发环境
prod 是生产环境使用
rsa密钥生成看第6步
application.yml 代码如下 :
application-dev.yml 内容如下 prod里面的内容一样 自行修改成生产环境的地址即可
rsa 密钥生成


如图所示 创建一个密钥 上面上私钥 底下是公钥 这个保存好了 放到yml里面
验证码模块


- 获取授权码(以网易邮箱为案例)
- 首先登录网易邮箱 点击上方设置 点击POP3 SMTP 那一列 如图1所示
- 然后如图2所示开通 IMAP/SMTP 服务
- 然后图3所示点击新增授权吗即可,这个授权码只能新增时候查看大家保存好了
- 讲解看视频
- 验证码模块内容在附件
security配置


- 如图1所示新建一个鉴权模块,里面有login模块 security模块 以及captcha模块 如图1 大家自行新建
- security config内容如下 如图2所示这里面是我们配置的一些用户信息
// http.addFilterBefore(jwtAuthenticationTokenFilter, UsernamePasswordAuthenticationFilter.class);这行代码有可能报错 大家可以先注释掉后面会讲解
配置模块


- 新建一个配置模块 如图1所示,我们先做一些基础配置 全局异常处理代码如下 不进行全局异常处理的话那么代码异常前端是无法接受到的 对比图2图3
redis 序列化代码如下 如果不进行序列化redis中存储的内容会是乱码的
用户数据库


- 用户表如图所示大家可以参考一下 sql在附件里,大家也可以自行加字段,gender字段这边没有用 0 1 2 用的是U F M 因为用0 1 2 的情况下看数据很难一眼看出性别还需要查看注释对应
用户模块


- 如图1 图2 所示user 模块就一个基础的增删改查 因为用的是Mybatis Plus 所以 service 和 mapper里都没有内容
- 这边实体类的 password建议大家加上 @JSONField(serialize = false) 注解 密码不应该返回给客户端
- 内容大家自行生成即可 我用的是MybatisX
后端登录功能实现


- 如图1所示我们先创建一个login的controller 层 然后调用login模块的方法
- 然后在auth模块里面创建一个logni模块 如图2所示
- 工具类模块应倒入用户模块 验证码模块的依赖 pom.xml 内容如下 如图3所示
- controller层内容如下第一个接口是用户的登录接口 第二个是用于查询用户登录信息的
- 媒体4视频大概讲解了一些流程 代码在附件里
鉴权拦截器


- 大家可以看一下登录的流程图
- 拦截器代码如下 相当于我们通过cookie 获取存储的jwt token 在通过解析token获取uuid 那uuid换取我们存储在redis中的用户信息,如果这个用户信息存在就代表登录了,如果这个用户信息不存在就代表没登录,然后如果登录了我们就判断过期时间还剩多久来进行刷新,并把用户信息存储到spring的上下文中方便我们调用 这也就对应了我们公共模块中的securityUtil
创建前端项目


- 如图1 所示进入到你的工作空间 输入命令 pnpm create vite@latest glow-ui --template vue-ts "glow-ui"是你的项目名
- 如图2所示 询问是否使用 Rolldown-vite Rolldown-vite 是一个基于 Rust 的新一代打包器,旨在提升大型项目的构建速度。要尝试 rolldown-vite,只需在项目中将 vite 替换为 rolldown-vite 包,它是完全可替代的解决方案,未来将成为 Vite 的默认打包器。此外,rolldown-vite 提供了更好的性能和配置指南,帮助开发者掌握新一代前端构建技术。 但是这个技术还在实验中 我们就先不使用
- 图3 问你是否用pnpm 安装并启动 我们这里选择yes或者no都可以 选择yes他就直接启动了
- 然后图4 图5就是我们项目的基础代码以及运行时候的样子
- 如图6 图7所示我们配置一下别名信息 方便我们后续使用内容如下
vite.config.ts
tsconfig.app.json
全局的style.css 代码在附件里 如图8
添加路由功能


- 如图1所示 输入命令 pnpm add vue-router@4
- 然后新建文件夹router和views 如图2诉讼 router放路由相关配置 views放页面
- 然后在router里面新建一个文件index.ts 添加以下代码 path是访问地址,component是vue展示的组件
- 然后在main.ts中添加到app里即可如图3所示
安装 scss


如图1所示输入命令 pnpm add sass --save-dev
Vite 已经内置了对 SCSS 的支持,通常不需要额外的配置
要使用的话就如图2所示 在style标签上加入 lang=scss即可
安装配置axios


- 输入命令 pnpm add axios 如图1所示安装axios
- 如图2所示新建一个utils文件夹 里面有个文件request.ts 内容如下
- 然后设置代理修改配置文件vite.config 如图3所示 内容如下
安装pinia


https://pinia.vuejs.org/zh/core-concepts/ 这个是pinia 官网
- 输入命令 pnpm add pinia 如图1所示
- 我们在src下面新建一个store文件夹 里面创建一个index.ts 文件 文件内容如图2所示
- 然后我们把pinia挂载到app上 如图3所示
按照rsa加密工具


输入命令 pnpm add jsencrypt
新建一个 jsencrypt 的工具类 内容如下 如图所示
校验工具正则

如图所示在 utils下面新建一个validators 文件夹 这个文件夹里面有regex.ts 用于放正则 和validate.ts用于放校验方法
regex.ts 这个里面是一些正则的匹配
validate.ts 这个里面是一些公共的校验方法 就不用每个需要校验的地方都写一遍了
常用组件

我写了几个公共会用的到的常用组件 内容如下
GlassBtn.vue 这个是按钮组件
GlassDivider.vue 这个分割线是类似于渐变的效果
GlassInput.vue 这个是输入框组件
编写登录页面


该页面的样式和图片我放附件了大家自行下载 如图2所示
我们在api接口里面自行编写请求方法 如图2所示 内容示例如下 登录页面写完就如图3所示
login/index.vue
路由鉴权


- 路由鉴权的流程大概就是在页面刷新的时候或者新页面的时候在路由首位中发起一个请求获取登录的用户信息存储到pinia里面作为一个全局对象使用,然后如果有这个信息就不允许访问登录页面 没有这个信息就不允许访问我们的主要页面
- 后端对应的接口是查询登录用户信息如图5
- pinia 内容如下 这里相当于我们声明初始化了一个对象 如图1所示
- 然后我们在全局路由的时候在进行给这个对象赋值操作 如图2所示 内容如下 大家记得在main.ts中引入 如图3
- 效果看视频
登录页面路由守卫

我们直接修改router 下面的index.ts 内容如下
效果看视频
完成
前端后端和数据库都在附件里
 0
0 0
0 0
0 qq空间
qq空间  微博
微博  复制链接
复制链接