mac安装seata(mysql8)并配置nacos注册中心
本文介绍如何在 macOS 上安装并配置 Seata 2.4.0,使用 MySQL 8 存储全局事务日志,并通过 Nacos 作为注册中心和配置中心完成服务注册与配置管理。适用于基于 Spring Cloud Alibaba 构建的微服务系统,帮助开发者快速搭建本地 Seata 服务环境,实现分布式事务支持
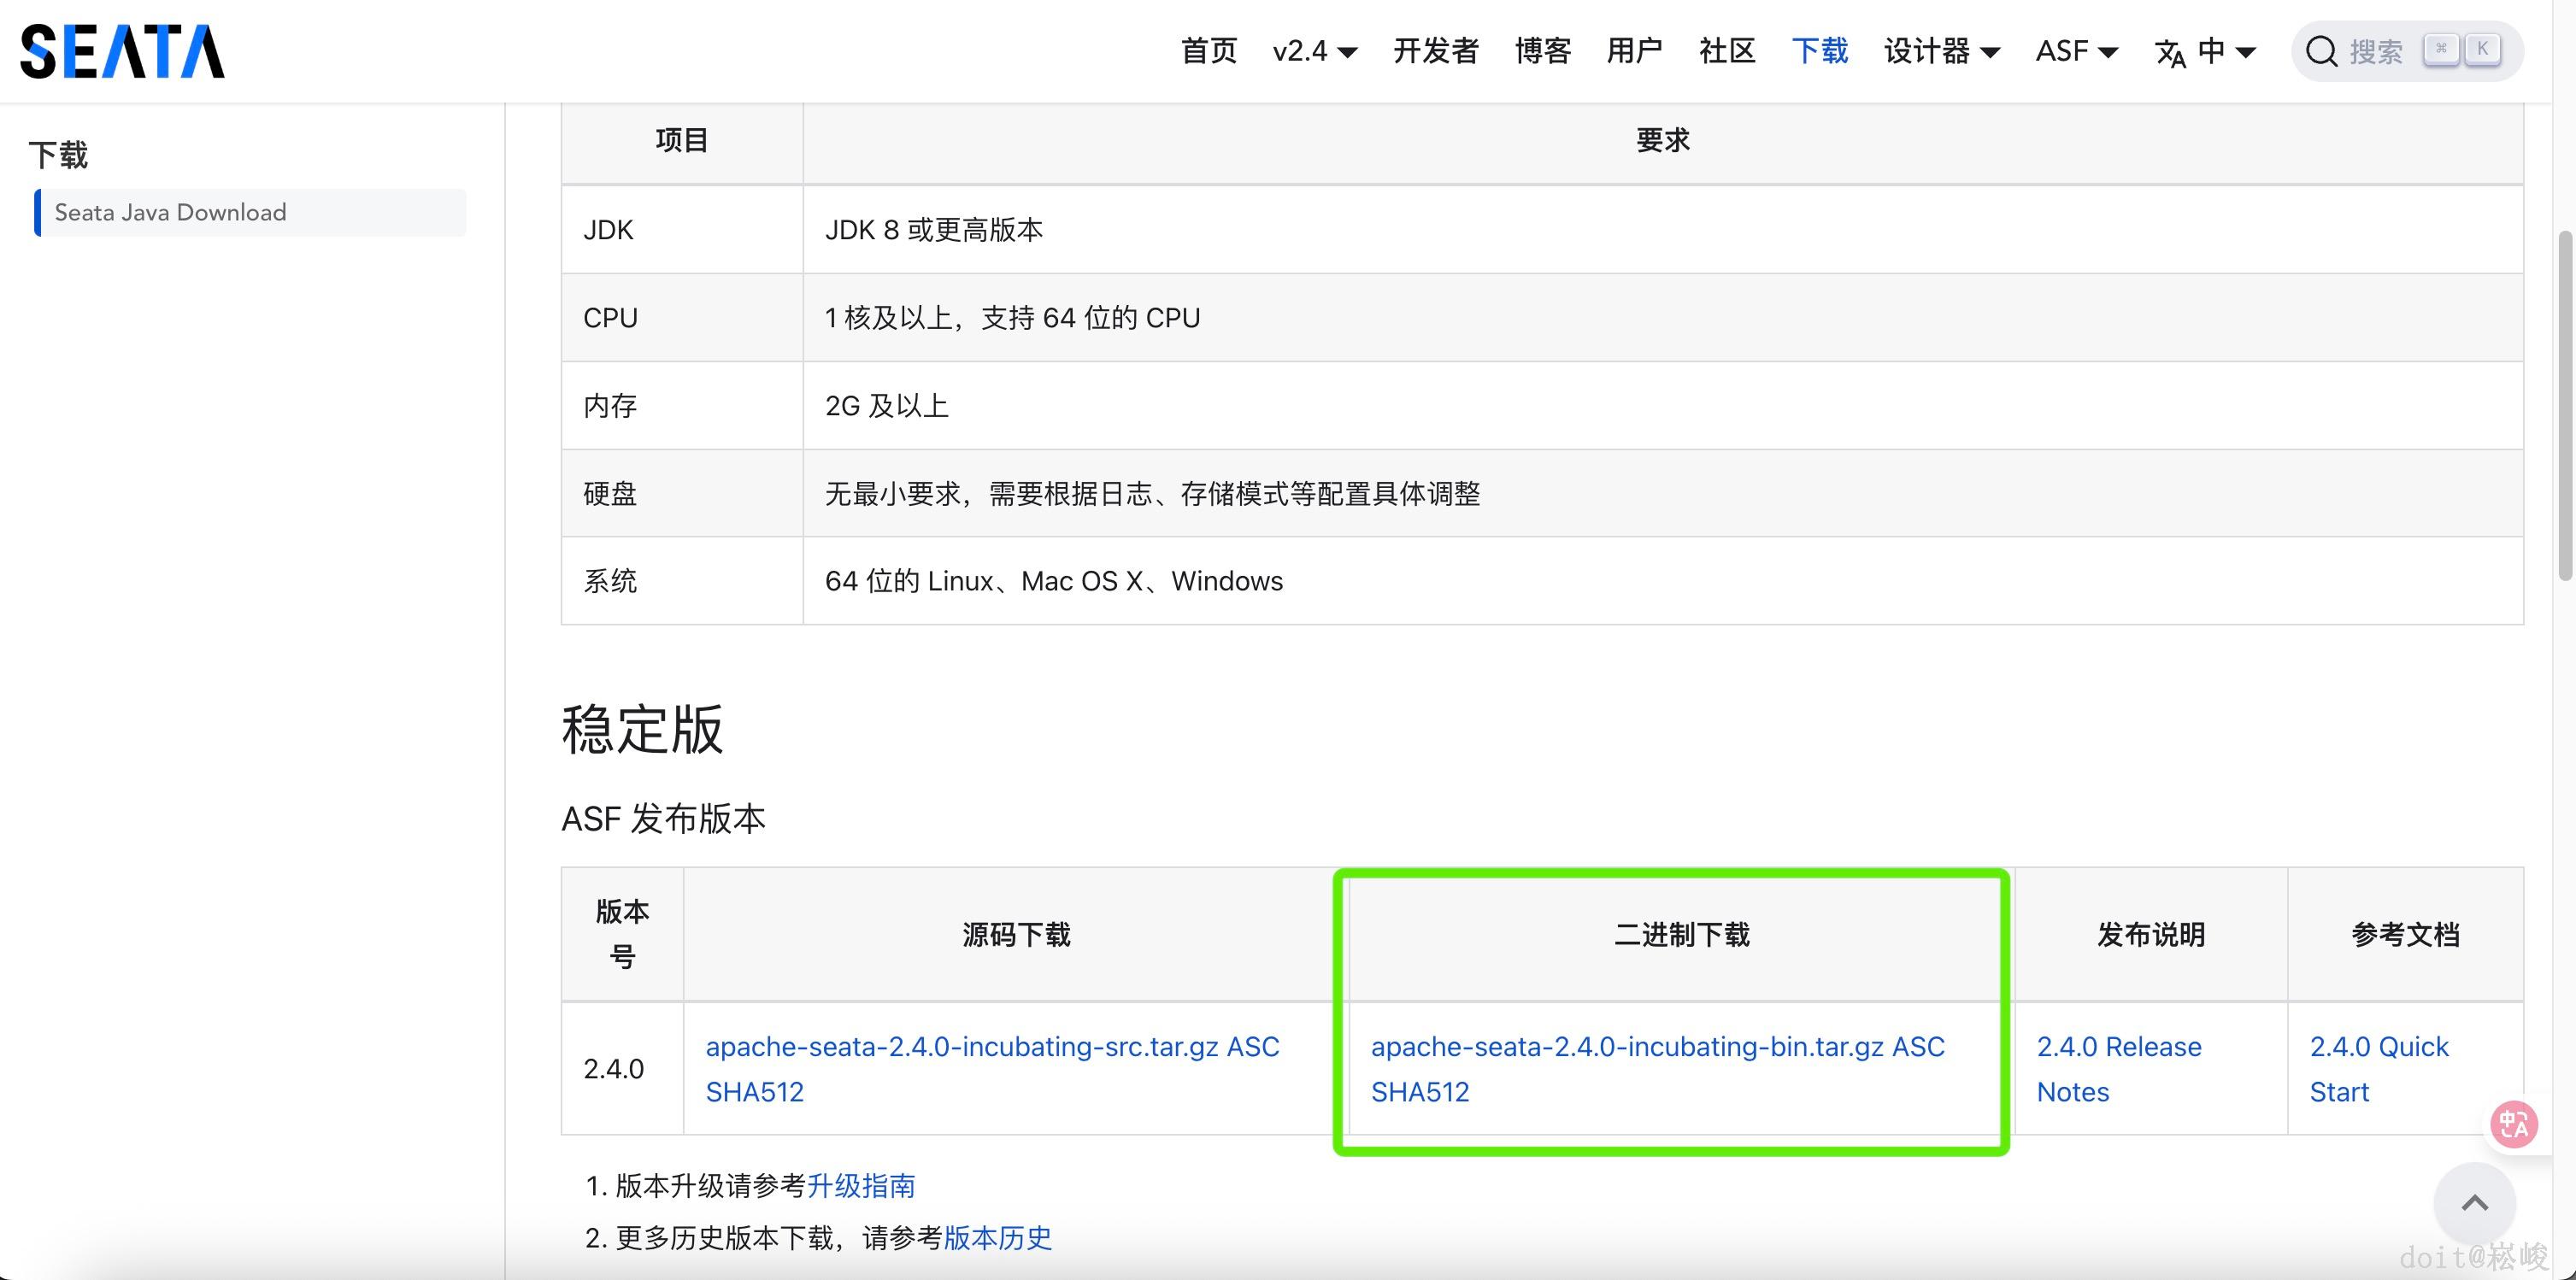
2
解压

如图所示 放到你们自己存放软件的目录下进行解压
3
创建数据库表


12
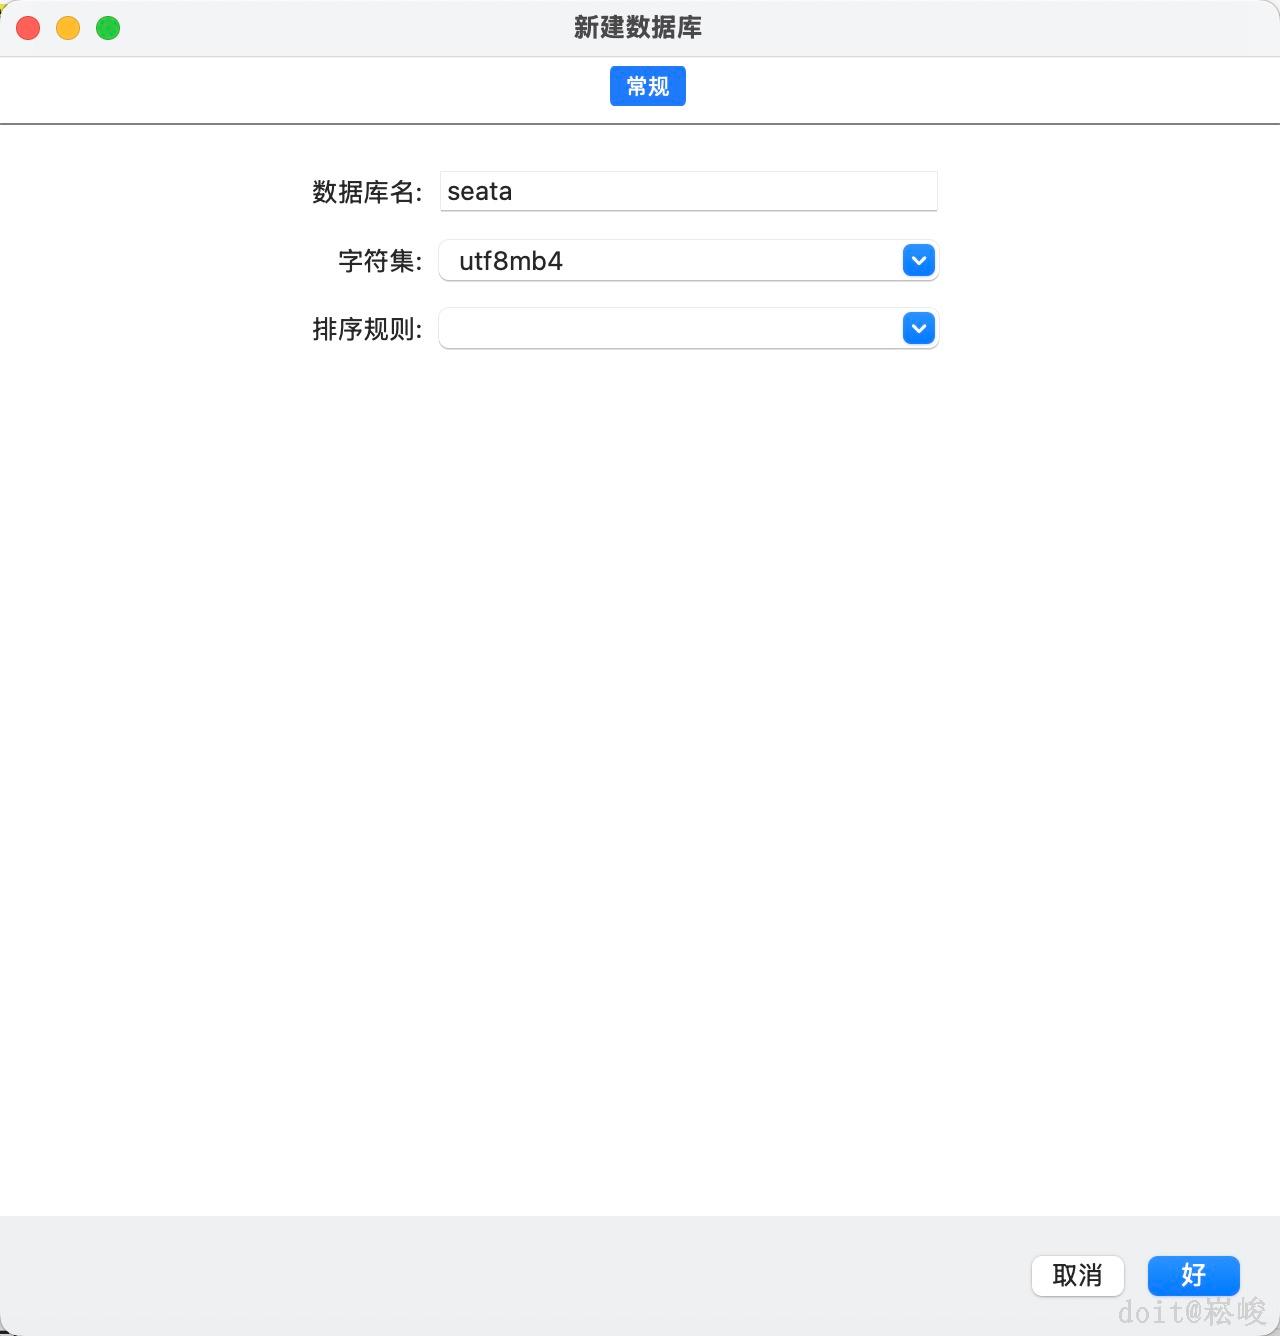
- 创建一个mysql数据库名为seata
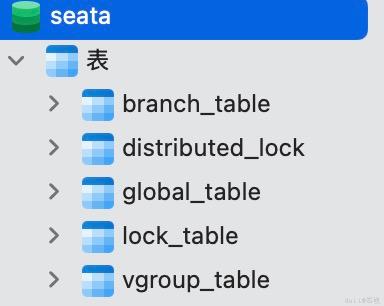
- apache-seata-2.4.0/seata-server/script/server/db/mysql.sql 这个目录下有sql文件 导入进来
4
配置Nacos 配置中心


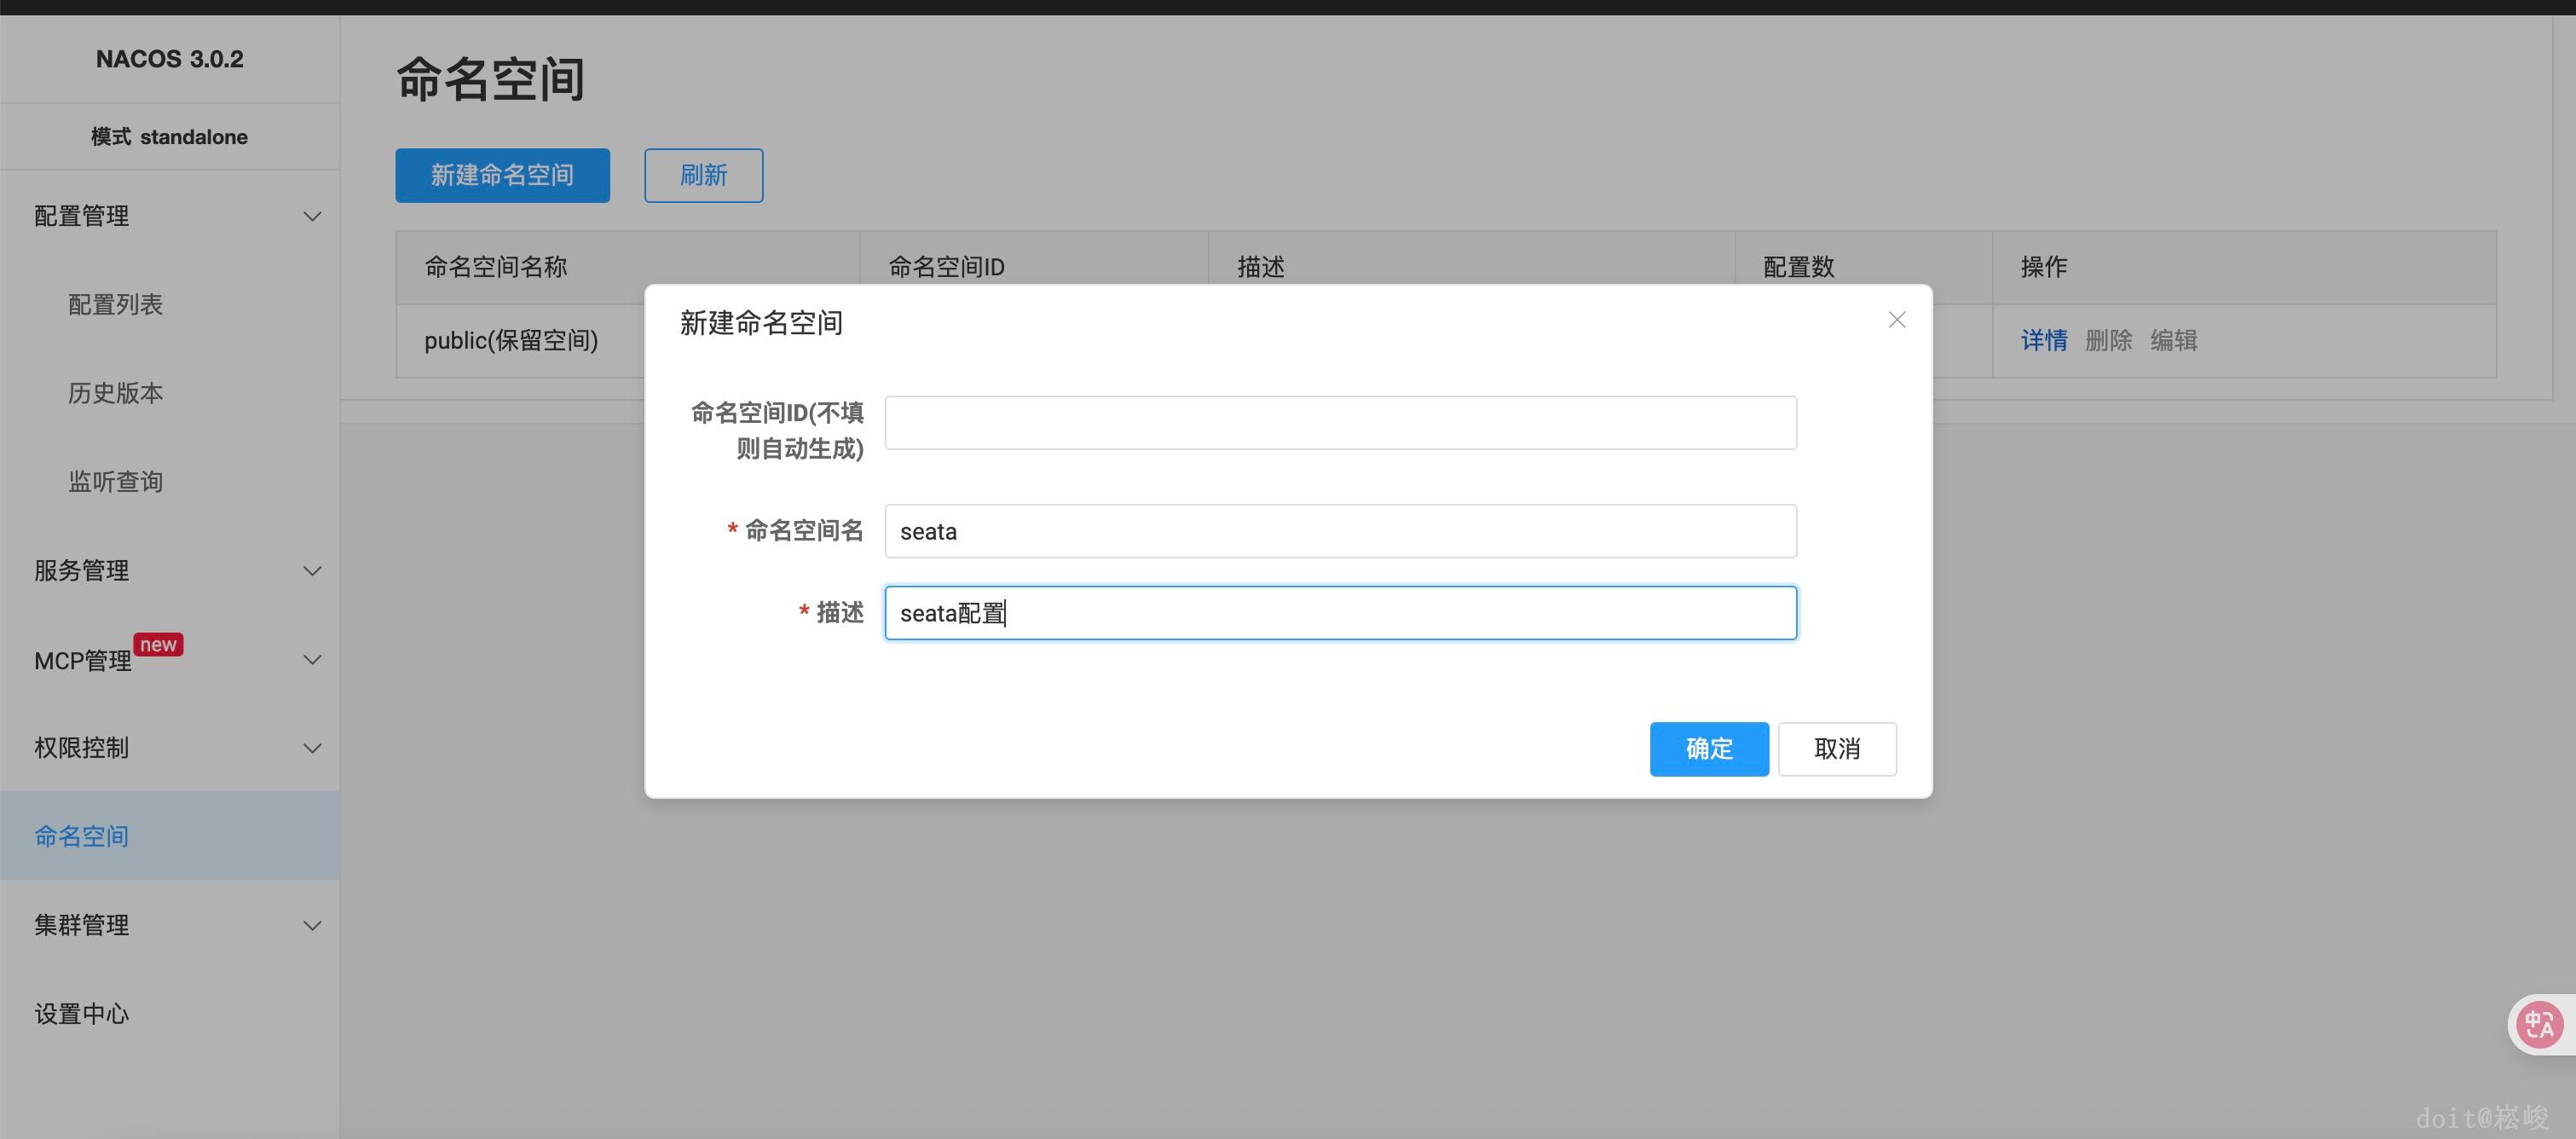
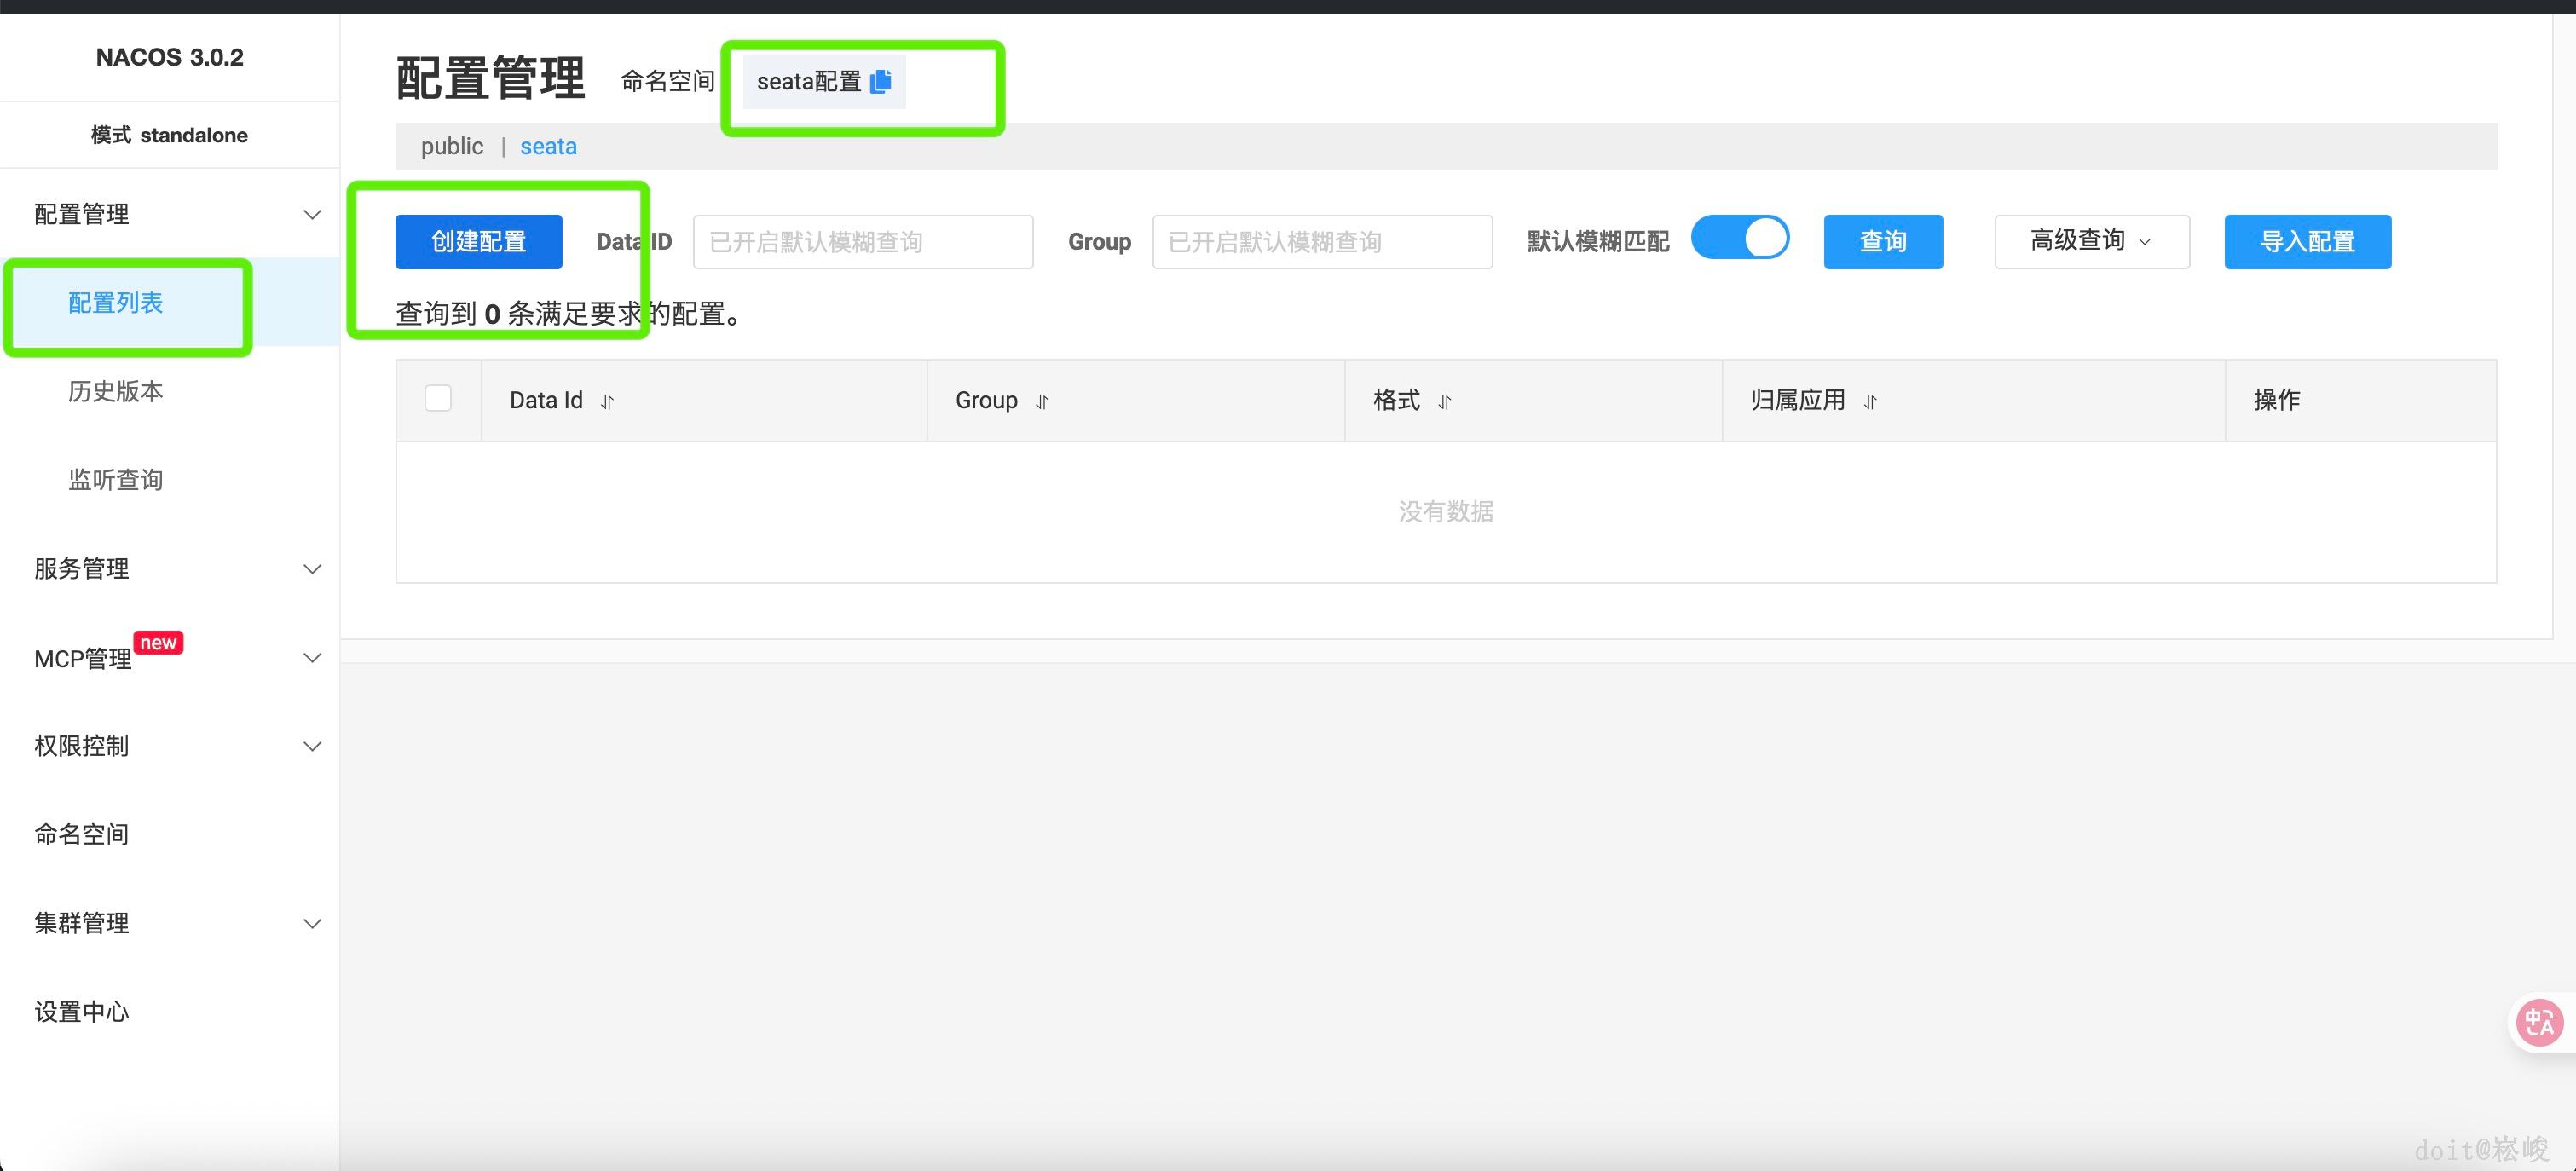
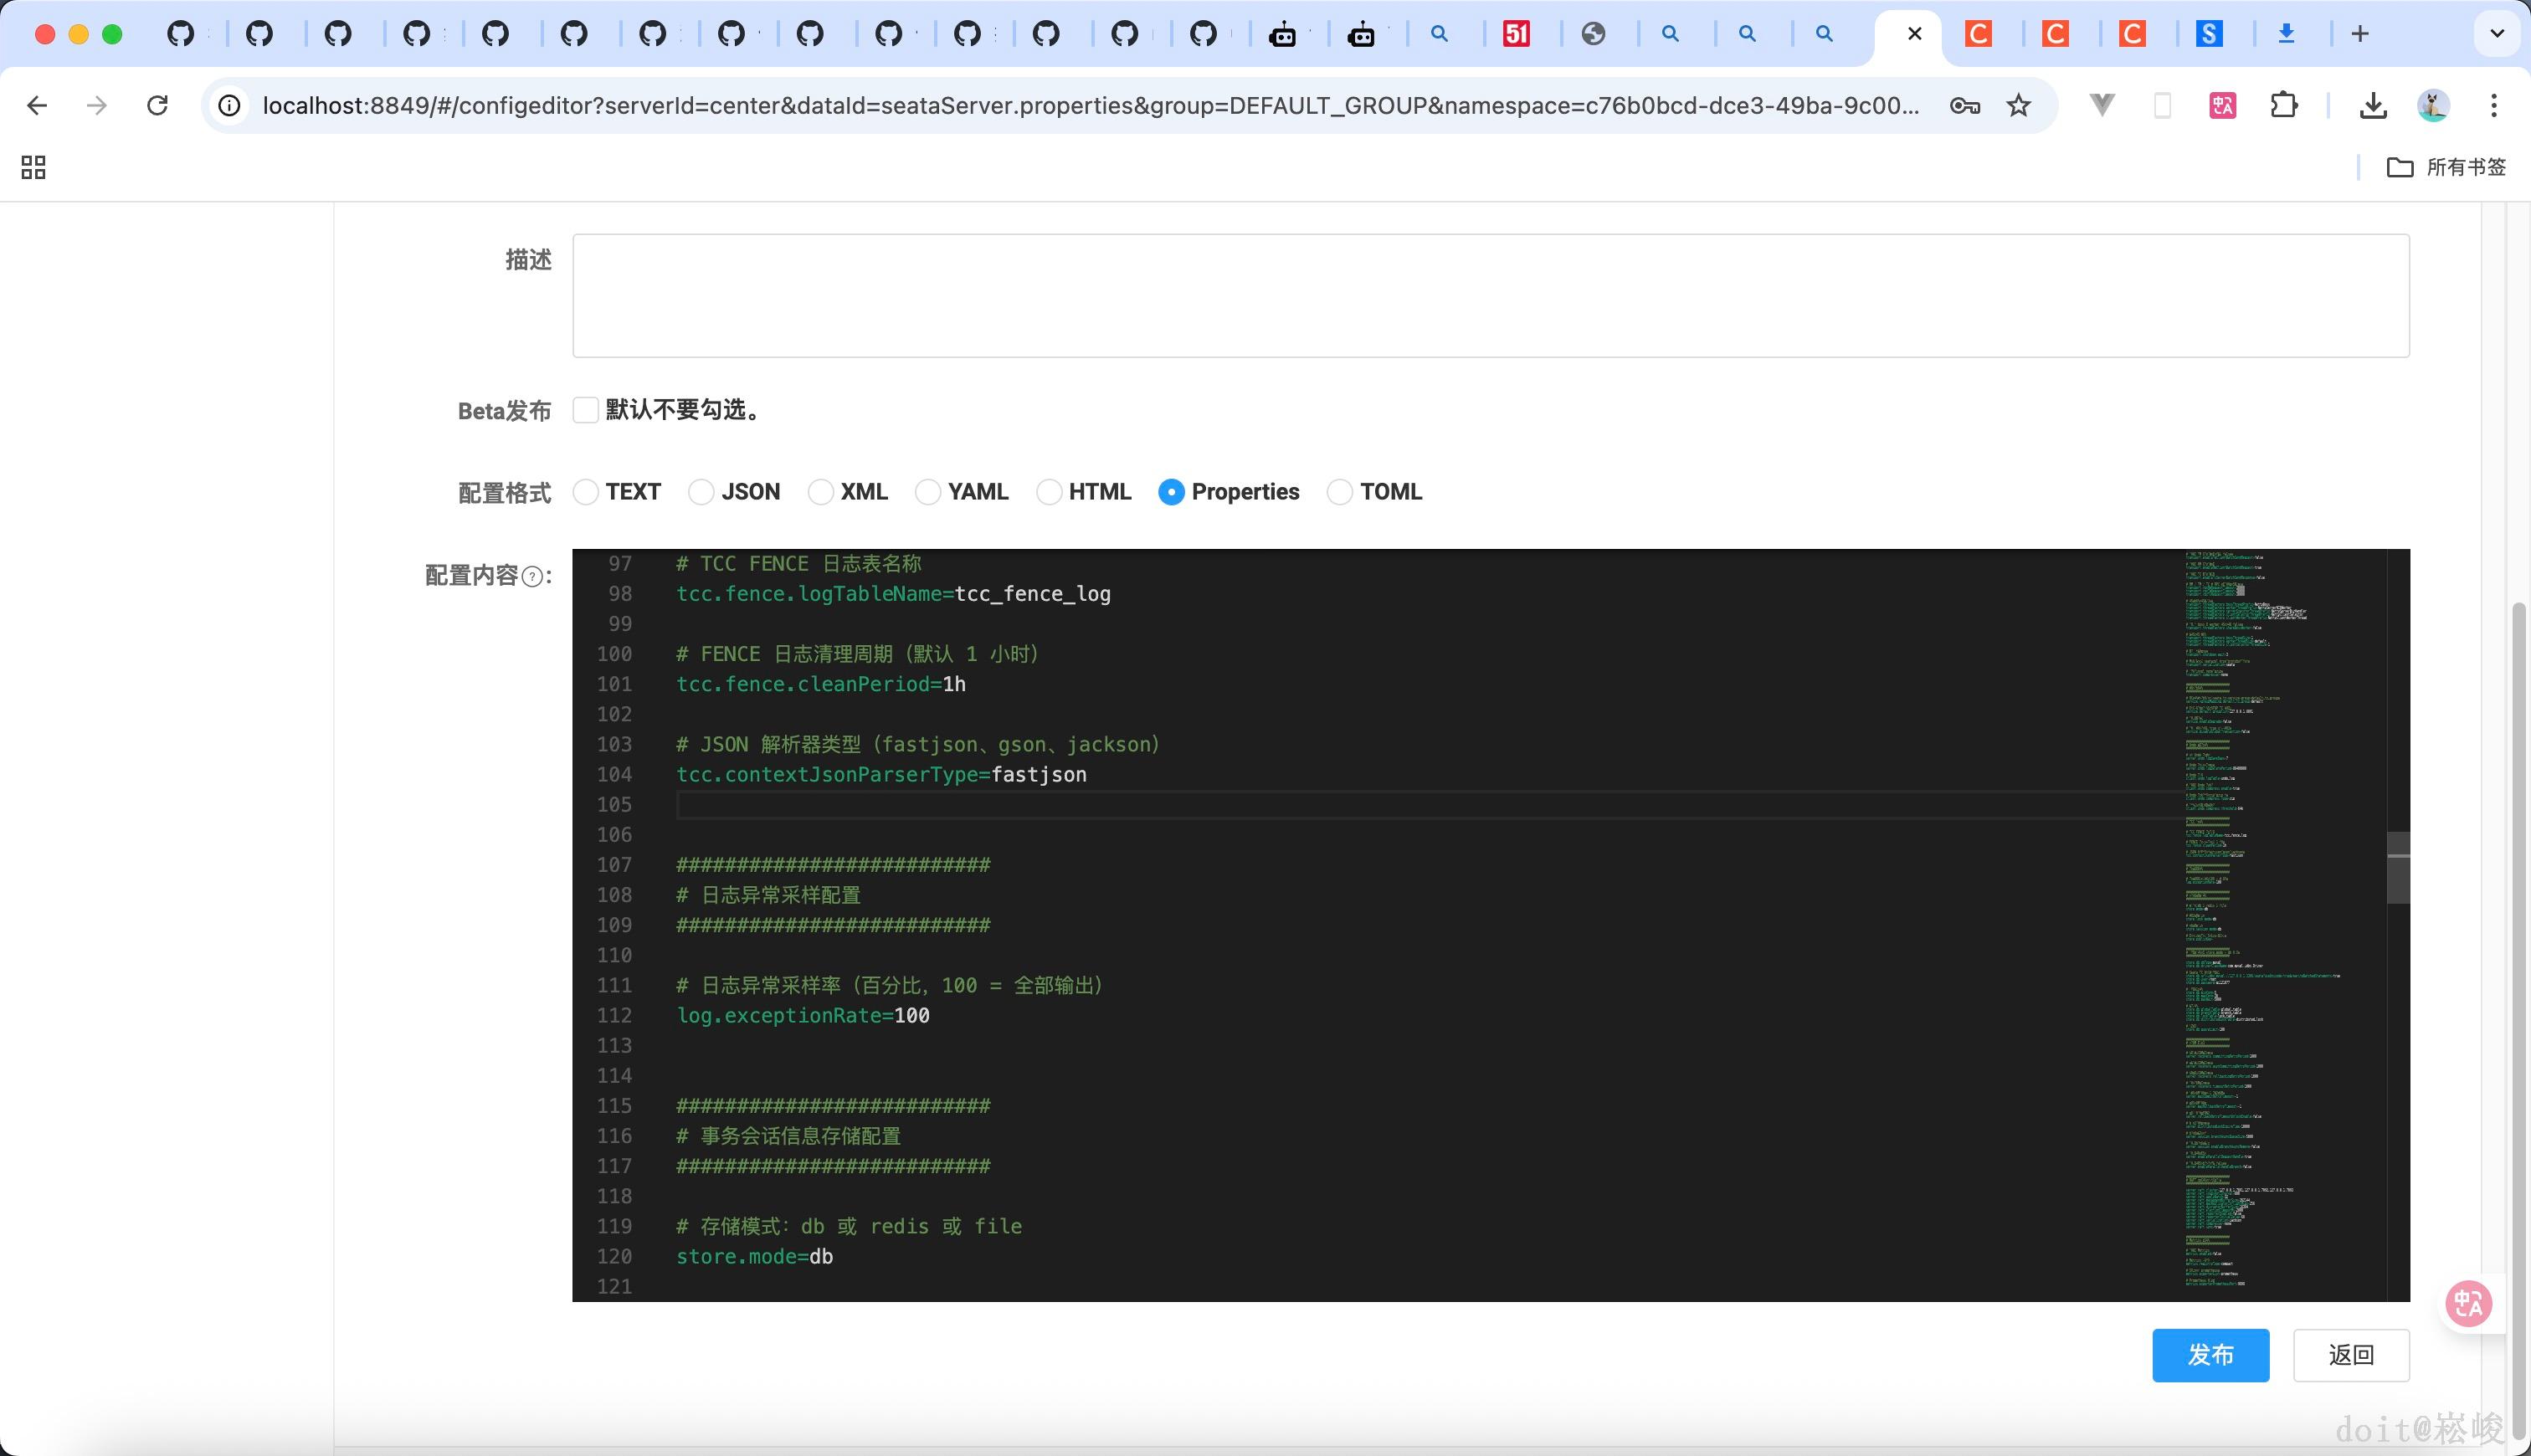
123
- 如图1所示创建一个命名空间
- 点击配置列表 选择哪个命名空间 选择创建配置
- 把下面的配置放进去如图3 记得改数据库信息 然后点击发布即可
#事务会话信息存储方式
store.mode=db
#事务锁信息存储方式
store.lock.mode=db
#事务回话信息存储方式
store.session.mode=db
#存储方式为db
store.db.dbType=mysql # 设置使用的存储类型是 mysql
store.db.datasource=druid
store.db.driverClassName=com.mysql.cj.jdbc.Driver
# 下方你的数据库名称如果不是 seata 记得修正
store.db.url=jdbc:mysql://127.0.0.1:3306/seata?useUnicode=true&rewriteBatchedStatements=true&useSSL=false
store.db.user=root # 写你的数据库用户
store.db.password=root 写你的数据库密码
store.db.minConn=5
store.db.maxConn=30
store.db.queryLimit=100
store.db.maxWait=5000
# 下面 4 项对应的数据库中几张数据表
store.db.globalTable=global_table
store.db.branchTable=branch_table
store.db.lockTable=lock_table
store.db.distributedLockTable=distributed_lock
5
配置 seata


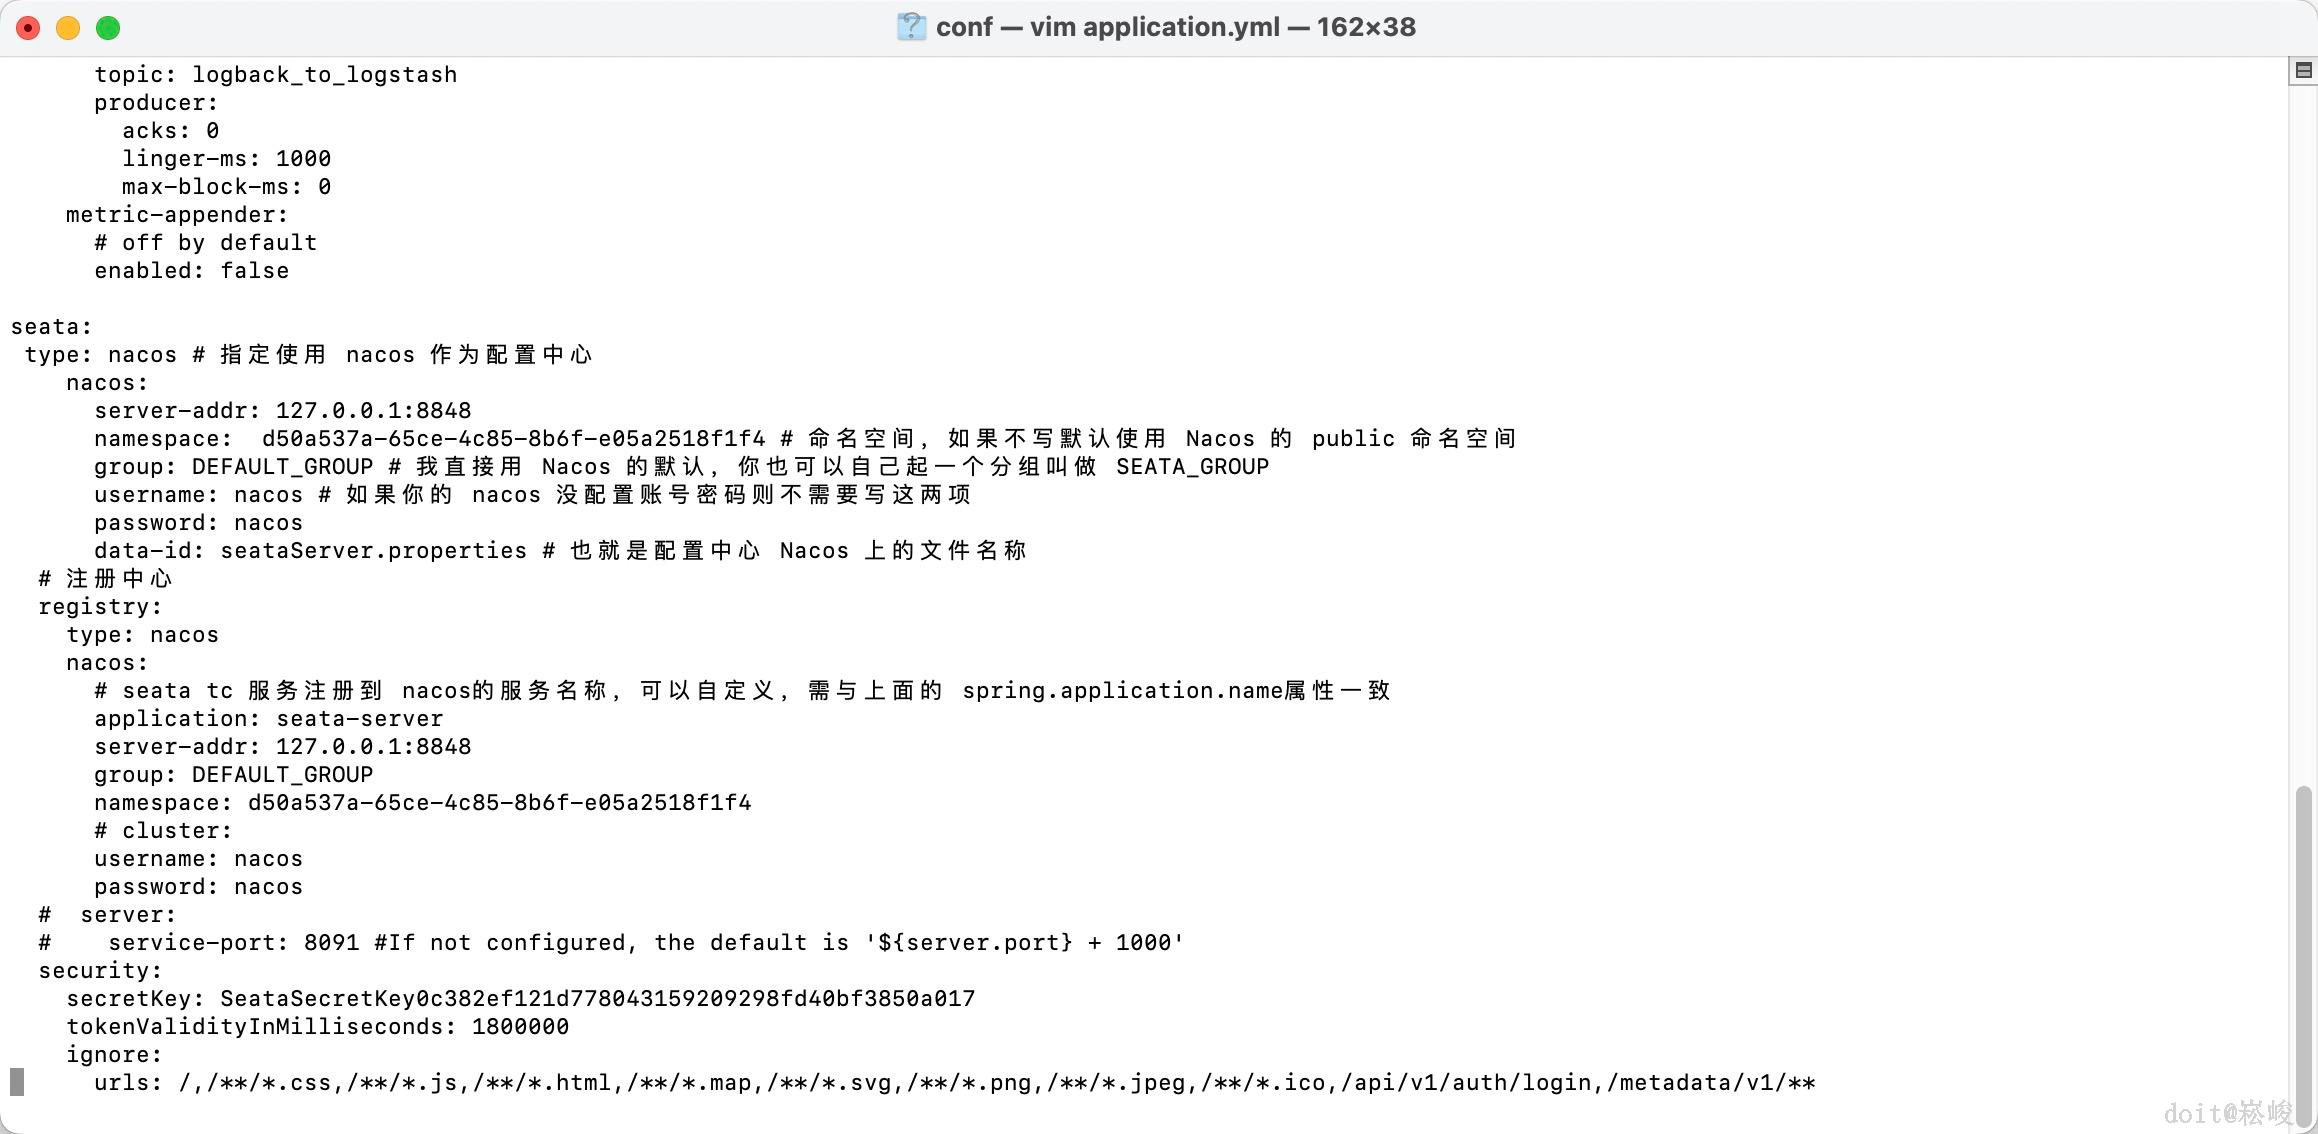
12
打开conf里面的application.yml,修改配置,指定使用nacos 命名空间哪里大家记得改
#
# Licensed to the Apache Software Foundation (ASF) under one or more
# contributor license agreements. See the NOTICE file distributed with
# this work for additional information regarding copyright ownership.
# The ASF licenses this file to You under the Apache License, Version 2.0
# (the "License"); you may not use this file except in compliance with
# the License. You may obtain a copy of the License at
#
# http://www.apache.org/licenses/LICENSE-2.0
#
# Unless required by applicable law or agreed to in writing, software
# distributed under the License is distributed on an "AS IS" BASIS,
# WITHOUT WARRANTIES OR CONDITIONS OF ANY KIND, either express or implied.
# See the License for the specific language governing permissions and
# limitations under the License.
#
server:
port: 7091
spring:
application:
name: seata-server
logging:
config: classpath:logback-spring.xml
file:
path: ${log.home:${user.home}/logs/seata}
extend:
logstash-appender:
# off by default
enabled: false
destination: 127.0.0.1:4560
kafka-appender:
# off by default
enabled: false
bootstrap-servers: 127.0.0.1:9092
topic: logback_to_logstash
producer:
acks: 0
linger-ms: 1000
max-block-ms: 0
metric-appender:
# off by default
enabled: false
seata:
config:
type: nacos # 指定使用 nacos 作为配置中心
nacos:
server-addr: 127.0.0.1:8848
namespace: d50a537a-65ce-4c85-8b6f-e05a2518f1f4 # 命名空间,如果不写默认使用 Nacos 的 public 命名空间
group: DEFAULT_GROUP # 我直接用 Nacos 的默认,你也可以自己起一个分组叫做 SEATA_GROUP
username: nacos # 如果你的 nacos 没配置账号密码则不需要写这两项
password: nacos
data-id: seataServer.properties # 也就是配置中心 Nacos 上的文件名称
# 注册中心
registry:
type: nacos
nacos:
# seata tc 服务注册到 nacos的服务名称,可以自定义,需与上面的 spring.application.name属性一致
application: seata-server
server-addr: 127.0.0.1:8848
group: DEFAULT_GROUP
namespace: d50a537a-65ce-4c85-8b6f-e05a2518f1f4
# cluster:
username: nacos
password: nacos
# server:
# service-port: 8091 #If not configured, the default is '${server.port} + 1000'
security:
secretKey: SeataSecretKey0c382ef121d778043159209298fd40bf3850a017
tokenValidityInMilliseconds: 1800000
ignore:
urls: /,/**/*.css,/**/*.js,/**/*.html,/**/*.map,/**/*.svg,/**/*.png,/**/*.jpeg,/**/*.ico,/api/v1/auth/login,/metadata/v1/**
6
更改驱动包(mysql8)
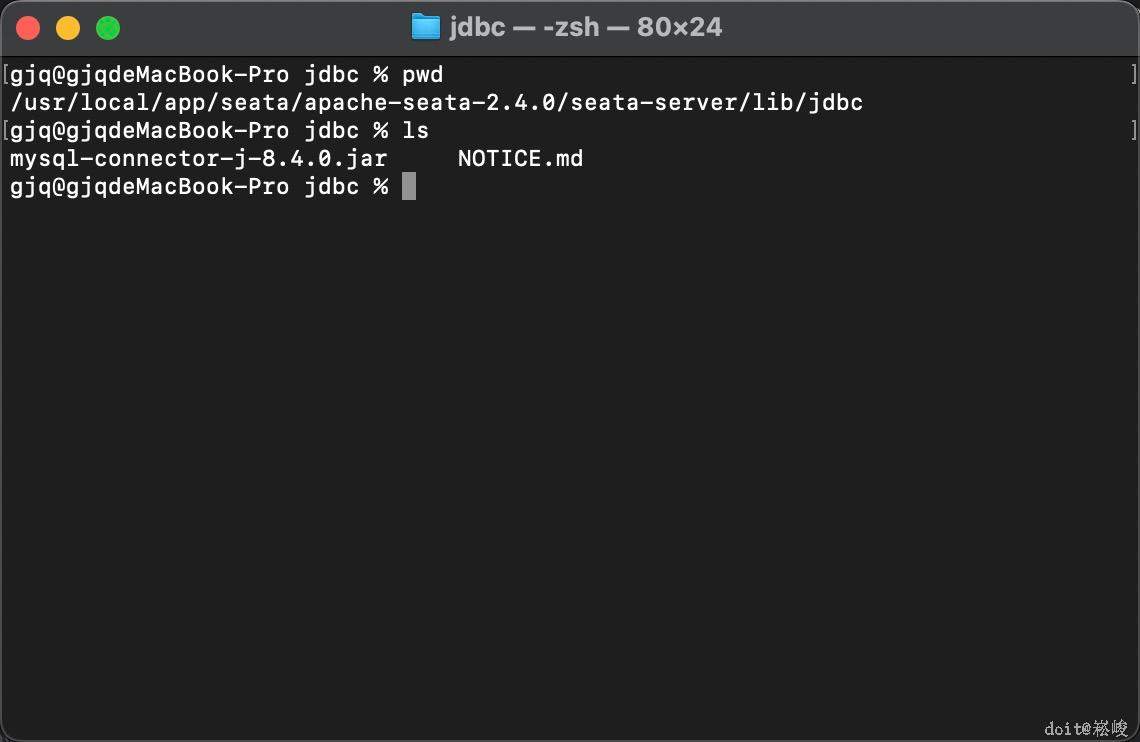
本步骤仅mysql8及以上版本需要 其他版本不需要 解压附件里的包把jar包放到lib/jdbc目录下 如图所示
mysql-connector-j-8.4.0.tar.gz
4.11MB
7
启动


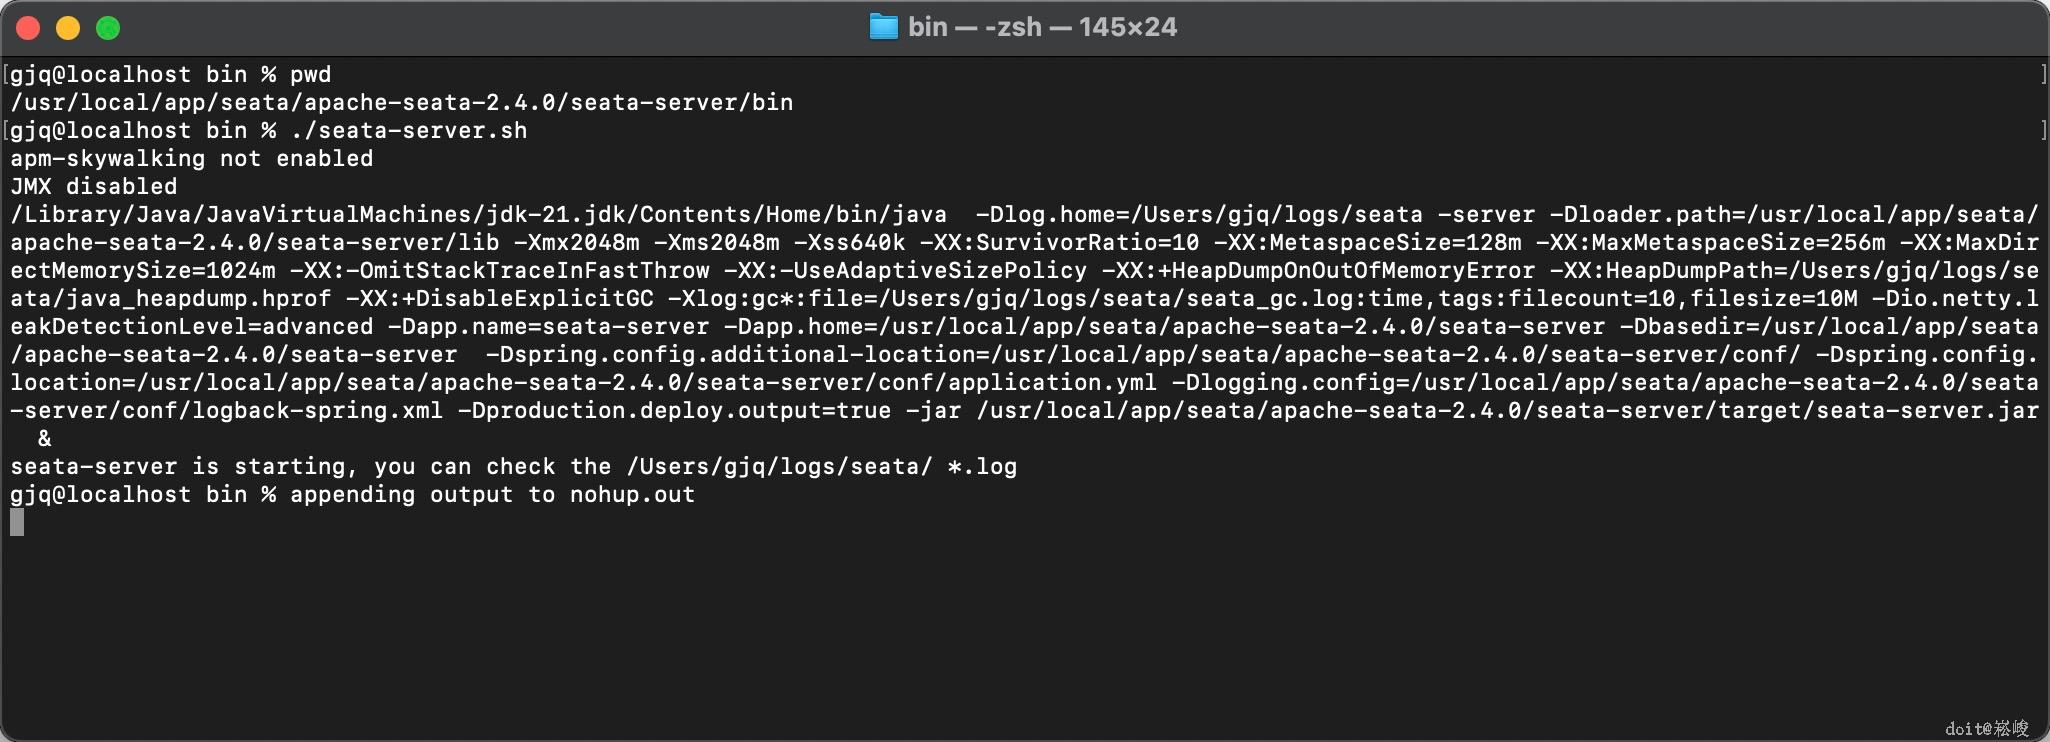
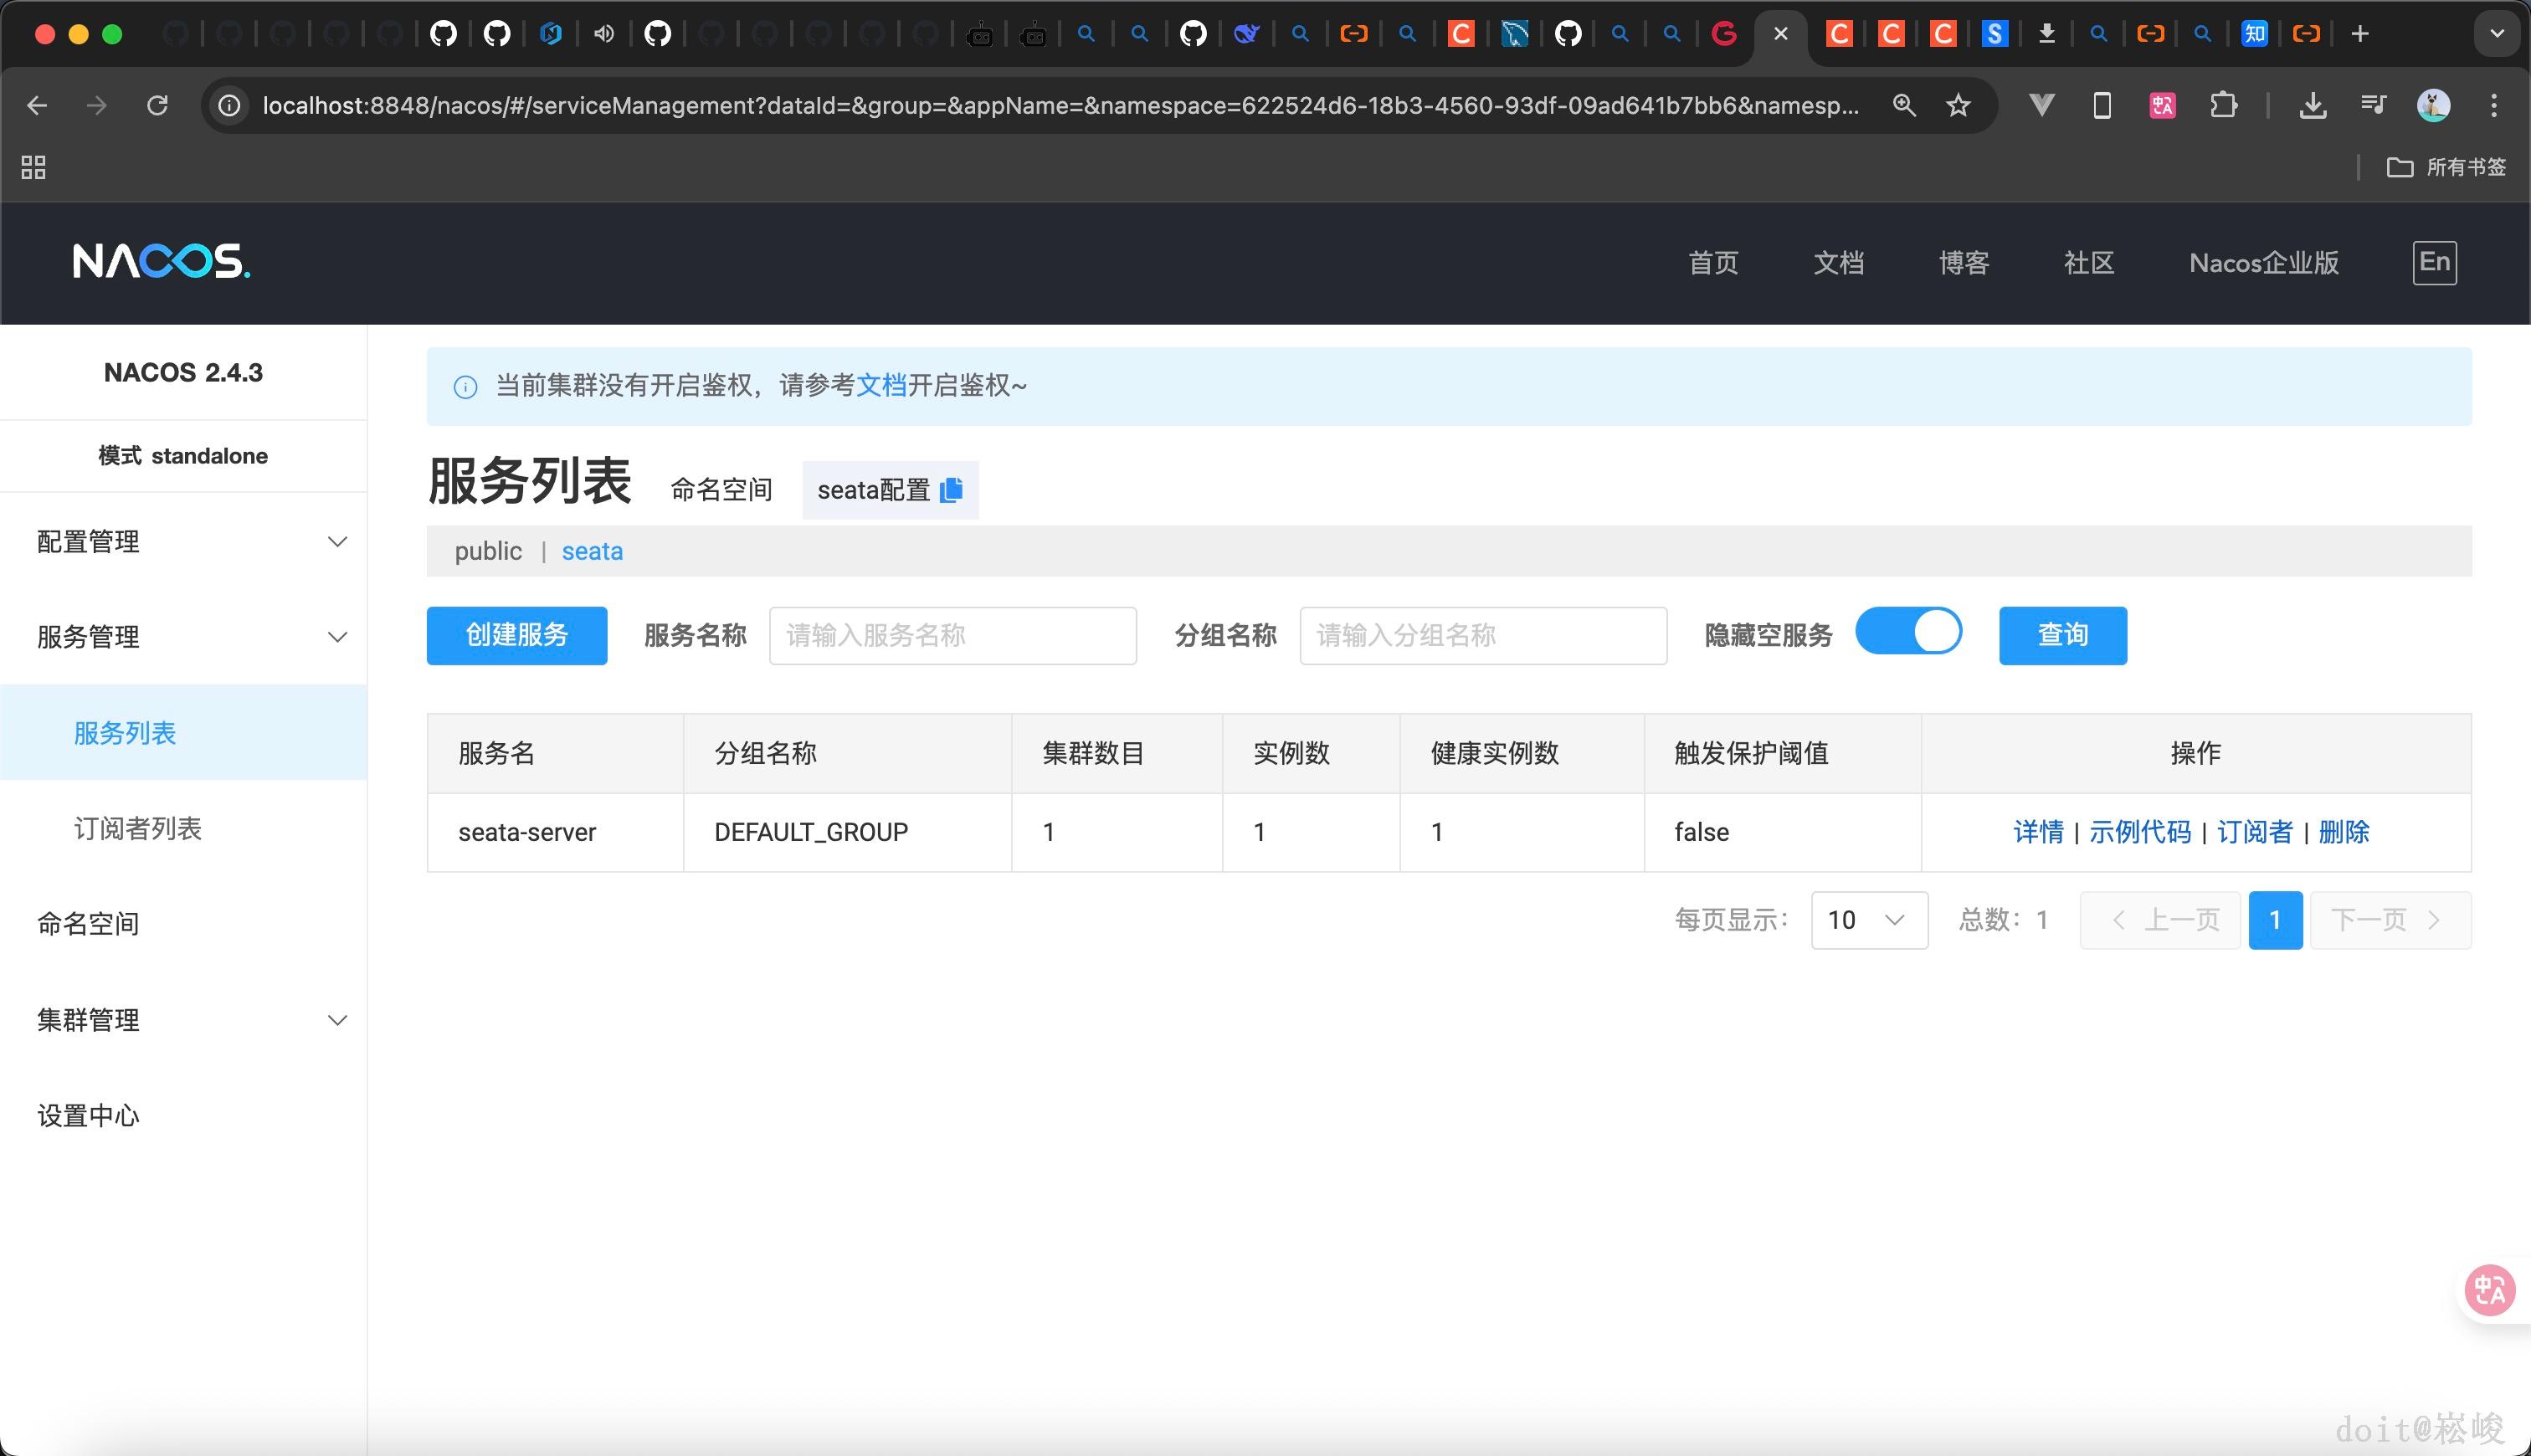
12
- 如图1所示 进入到bin目录下输入命令 ./seata-server.sh
- 查看nacos 如果有服务器就代表正常启动成功了
 0
0 0
0 0
0 qq空间
qq空间  微博
微博  复制链接
复制链接  分享
分享 更多相关项目
猜你喜欢
评论/提问(已发布 0 条)
 0
0